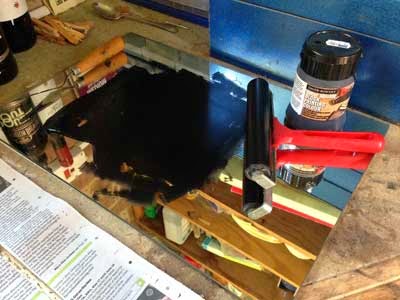
This picture may look confusing because I have rolled out the ink onto a piece of mirror. I used to have a slab of flat glass for this purpose which is better. Don't roll the ink out too thickly or the ink will spill over the edges of your design and blur the image.
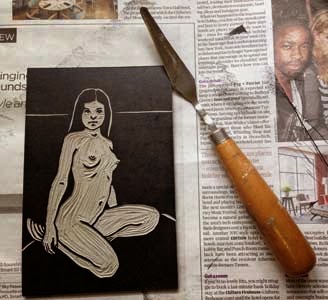
Here is a palette knife, which I find useful for spreading the ink onto the glass and also for picking up bits of dust that sometimes get stuck onto the surface of the inked lino despite all my care to keep everything clean.

I use a small roller press but you don't have to have one. If you do, you will find that it takes a number of trials to get the right balance between the amount of ink and the pressure on the rollers.

Another very good method is just to rub the paper with the back of a spoon.

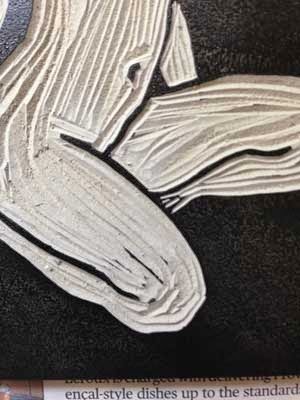
Here I lift up a corner of the image to assess progress. In this case the image is too light. The paper can be smoothed back onto the lino for further rubbing without losing registration, as long as only a corner has been lifted off. However in this case there is not enough ink.

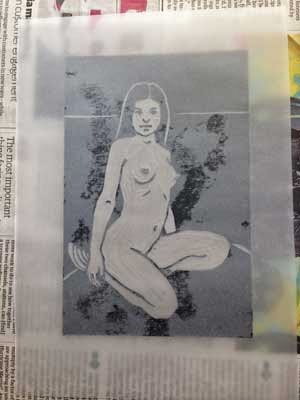
The best papers for lino are smooth surfaced. Below I am experimenting with acid-free tracing paper. I can see exactly what is happening and the finished print can be reversed if destired!

Sometimes an area that has been cut away gets inked up by mistake. This can add to the effect, or you may prefer to cut away the unwanted inked area.
Here is the final image:

No comments:
Post a Comment